Menu
The Machine
The Idea
The Brain
The Case
The Keyboard
Main Screen
Mini Screens
TFT Screen
RFID Reader
Using the RFID Reader
Designing RFID Cards
LED Lighting
Power Displays
GPS Module
Battery Power
Power Switch
3D Printed Parts
Future Plans
Problems
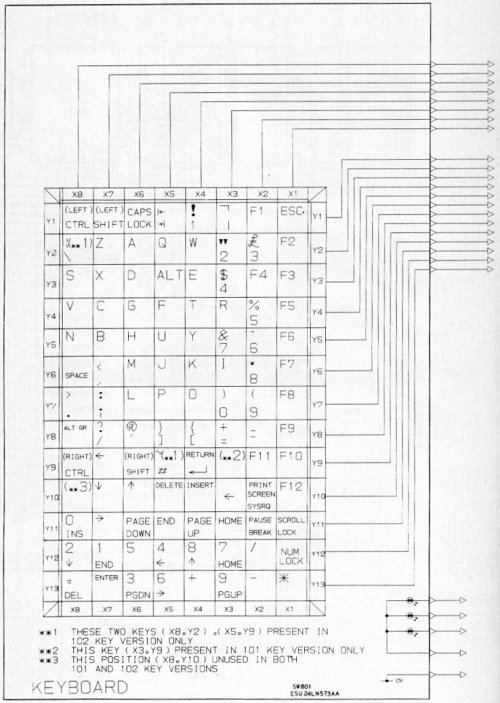
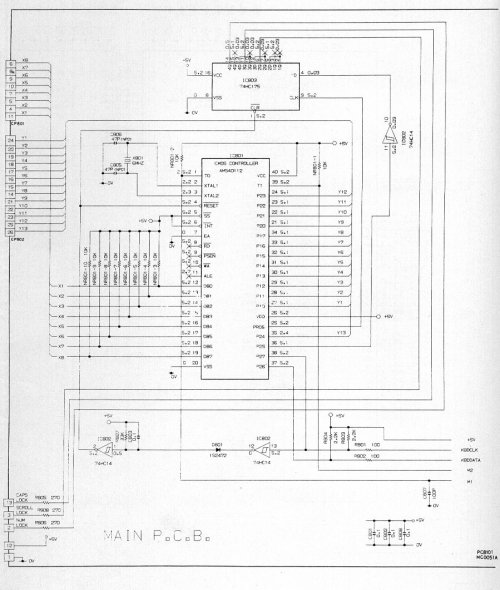
The keyboard has its own Amstrad matrix and needs to be converted into one that can be used to feed into a USB port.
First you need to scavenge some bits from a donor/build machine machine. That being the 2 keyboard connectors on the motherboard.
Now comes the fun part. Having to solder 26 tails. I used ones that are already setup for Female Dupont connectors.
Using the below schematic that shows how the matrix is put together then all you need to do is convert that into something that modern computers can read.


When that's done you get something like this - after soldering, heat wrapping & labelling 26 cables. The labels are there for the next stage, connecting to to a Raspberry Pi Pico to handle the conversions into a USB Keyboard.

Oops! The plan has changed!

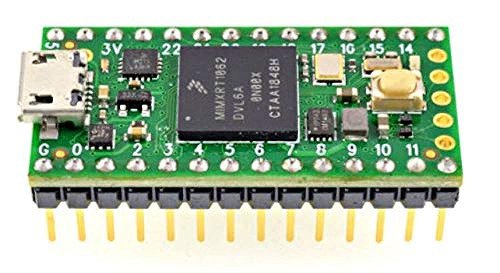
The original plan was to use a Raspberry Pi Pico connected as a USB Keyboard controler. However, the software (12.5Kb ino file) that was found was for a Teensy LC and wouldn't work due to incompatability issues. Off to the Interweb & a short time later a Teensy 4.0 was purchased for the connections. It does mean that a couple of the headers are just being left hanging but we don't need lights, just hope & prayers!
